
A pain relief patch (also called a medicated plaster) only delivers its full benefit when it is applied correctly. A patch stuck to the wrong spot, applied to damp skin, or removed too roughly can irritate the skin and reduce the effect of the active ingredients. This short guide explains how to apply, wear and remove a pain relief patch the right way.
Step 1: Clean and dry the skin
Before applying the plaster, the area should be cleaned and dried. If it is damp, it can accelerate the release of the active ingredients and increase the likelihood of an allergic reaction. Hair should be cleaned off, otherwise the plaster won’t stick properly, reducing its therapeutic effect, and removing it can pull out hair and cause pain. In cold weather, if the plaster doesn’t stick well, you can apply it first and then use a hot water bag to warm it.
Step 2: Find the most painful spot
Choose the correct position. First, locate the painful spot so that the center of the pain-relief plaster can be applied to the most painful area. When sticking it, partly separate the plaster from the rubber backing, place it near the painful spot, and stick it while gradually removing the backing along the direction of the pain. This allows precise placement of the plaster’s center on the pain point and ensures the plaster is smooth and wrinkle-free. If applied incorrectly, the effectiveness will be affected.
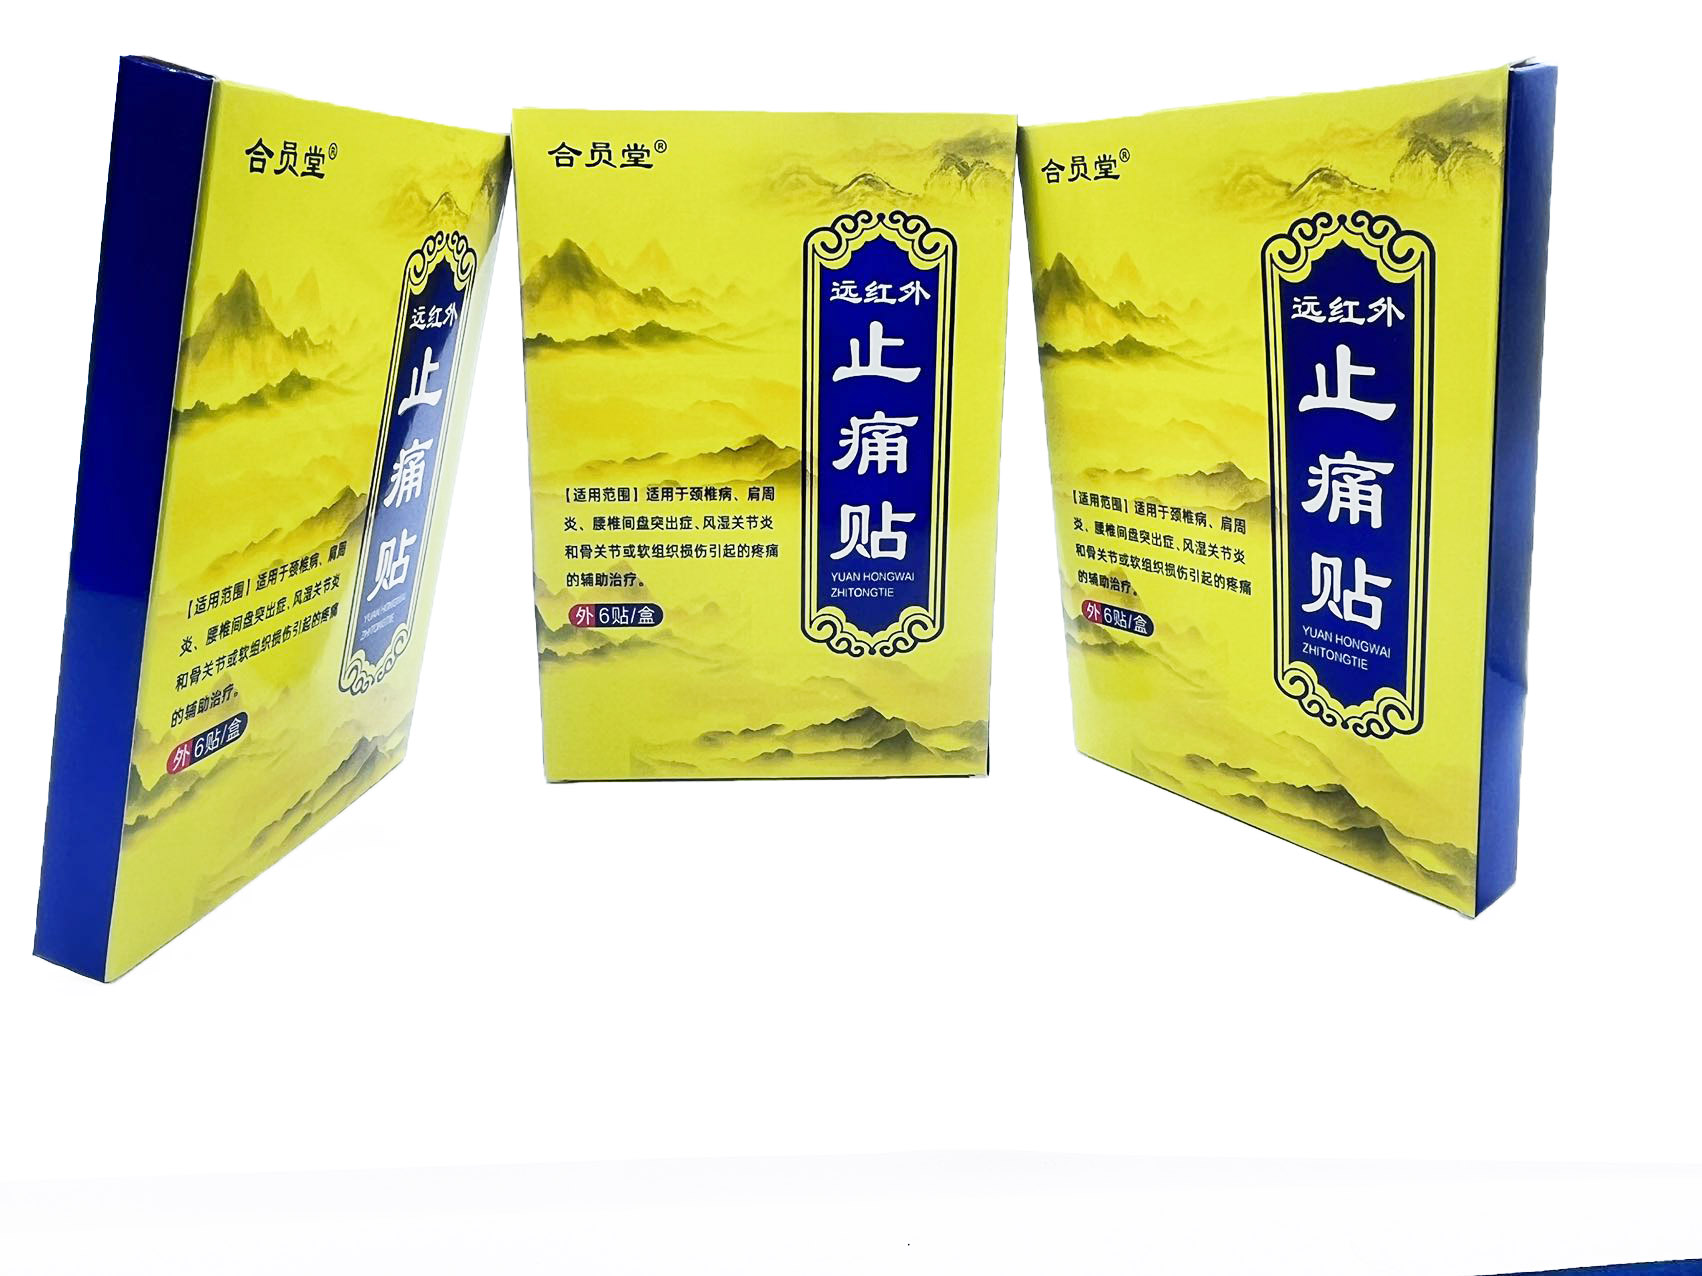
Step 3: Press down and smooth out wrinkles
Once the patch is in position, press it down firmly with the palm of your hand for 10–20 seconds, working from the center outwards. This helps the adhesive bond to the skin and removes air pockets. Take care not to stretch the patch, as this can lift the edges and cause it to peel off sooner.
Step 4: How long should you wear a pain relief patch?
- Follow the wear time stated on the product label or recommended by your manufacturer.
- As a general rule, most medicated plasters are worn for up to 8–12 hours and then removed so the skin can breathe.
- If you are using the patch for the first time, start with a shorter wear time to check how your skin reacts.
- Do not apply a new patch to the same area immediately — rotate the position slightly to reduce irritation.
Step 5: Remove the patch gently
Peel the patch off slowly, keeping it close to the skin rather than pulling it straight up. Holding the skin taut with your other hand helps reduce discomfort. If the adhesive is stubborn, wipe the surface of the patch with a little warm water or oil before removing it.
Tips for better adhesion
- Choose a patch size that covers the painful area without overlapping joints that move a lot.
- Avoid applying the patch right after a bath, shower or heavy sweating — wait until the skin is cool and dry.
- Do not apply body lotion, oil or cream to the area before sticking the patch.
- Press the edges down again if they begin to lift during wear.
When to be careful
- Do not apply to broken, irritated or infected skin, or to the face and mucous membranes.
- Stop using the patch and remove it if you notice redness, blistering, swelling or itching.
- Keep patches out of reach of children and check with a doctor if you are pregnant, breastfeeding or using other medication.
Looking for a reliable pain relief patch manufacturer?
VOHEAL is a factory-direct OEM/ODM manufacturer of pain relief patches and other external healthcare and skincare products. We support custom formulations, sizes, adhesive strength and private-label packaging, with samples available for evaluation. Contact us to discuss your project and request a quotation.